Friday, November 19, 2010
Religious Icon Self-Portrait
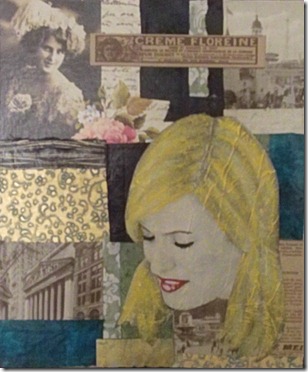
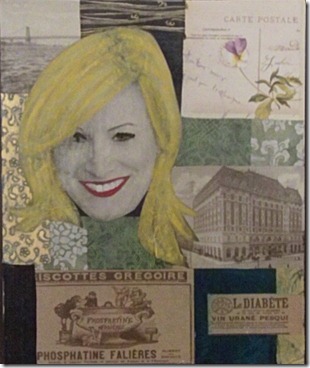
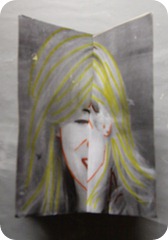
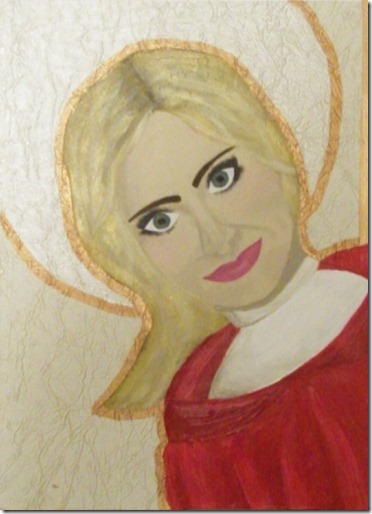
This one did not start out to be a religious icon. Actually, I was just painting my hair in geometric forms, and someone pointed out to me that it kind of looked like those windows in churches, like a religious icon. I have since redone the hair, maybe like 3 or 4 times. Had to get it perfect. I have to say that I’m not a deeply religious person, so this it’s kind of funny to me to look at this one. Some people who know me well might think this is a parody of religion. It is whatever YOU want it to be. To me, it’s just another painting that took an interesting twist!

Thursday, November 18, 2010
Tryptic Self-Portrait
Lately, I created tryptic self-portrait. I really like the concept of having three images to form a whole. It all came together out of the blue (pun intended: notice that I used a lot of blue in it). I went shopping at a local art supplier (DeSerres: http://www.desseres.ca/) and found these beautiful blue large format papers.
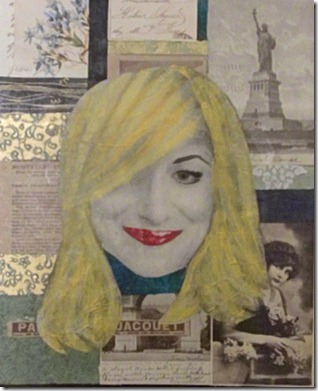
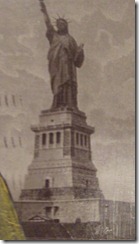
As well, I had raided a wallpaper book by Ralph Lauren and found this lovely wall covering with New York buildings, sites and landmarks. I additionally found two scrapbooking pages that where in theme with what I was doing, so I cut them up and did this big collage with all the material I found. And the result:

As well, I had raided a wallpaper book by Ralph Lauren and found this lovely wall covering with New York buildings, sites and landmarks. I additionally found two scrapbooking pages that where in theme with what I was doing, so I cut them up and did this big collage with all the material I found. And the result:
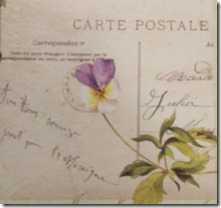
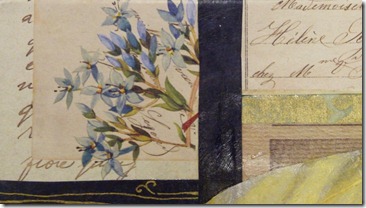
Here are some close-ups of my favourite details from the tryptic.
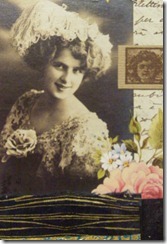
Postal cards:
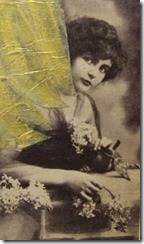
Landmark and two ladies, one peering from behind my hair:
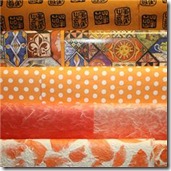
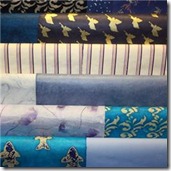
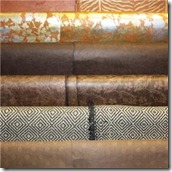
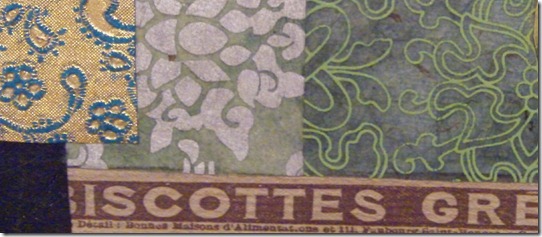
And the cool large format papers I was talking about, here are 4 kinds, and a piece of scrapbook paper with an old feel to it.
Tryptic Self-Portrait
Thursday, November 4, 2010
Self-portrait exercises
I’ve been keeping busy with self-portrait exercises. These are simple to realize. Just photocopy some of your favourite pictures and follow these exercises.
Main tools that will be needed for all exercises are: paint (I choose acrylic), paint brushes, gloss acrylic medium, an “exacto” knife, scissors, tissue paper, textured surfaces, dry and oil pastels, cotton swabs, coloring pencils, felts, and anything else that can be painted with, coloured, or glued onto your self-portrait.
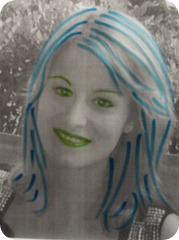
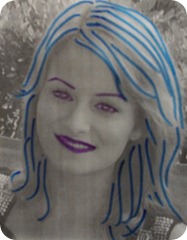
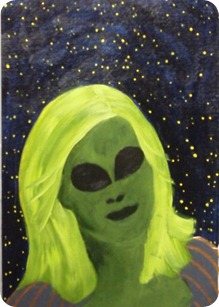
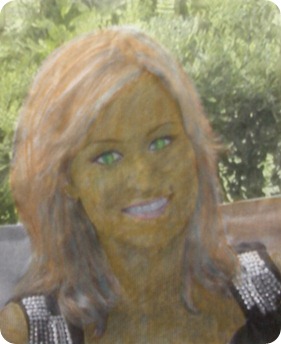
1. My alien self. Also one of my favourite exercises. I love the result. I actually did this one thinking of a Halloween theme. You can also try transforming yourself into a witch, a ghost, a zombie, or whatever!
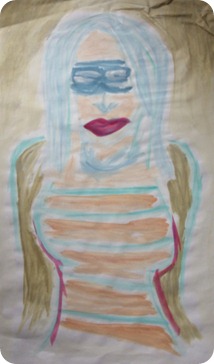
2. The left-hand drawing (or right-hand drawing if you’re a lefty). First, you’ll need a mirror so that you can see yourself. You’ll need to draw with the opposite hand that you are used to using. Don’t put in too much detail, just keep it simple. Once finished, use dry pastel to outline your portrait. Finally use gesso or water to smudge the color you have applied.
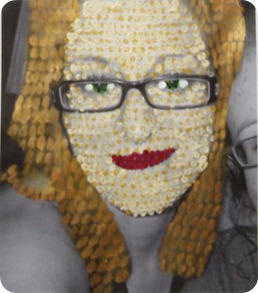
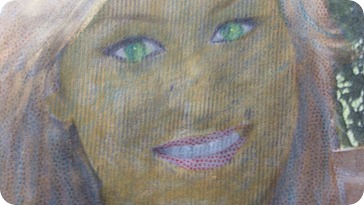
3. Pointillism portrait. Use a small round brush, cotton swabs or anything that will create small round dots of paint. Fill in your self-portrait. Try using two colors per section to create depth.
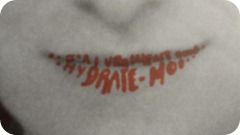
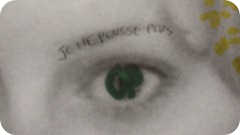
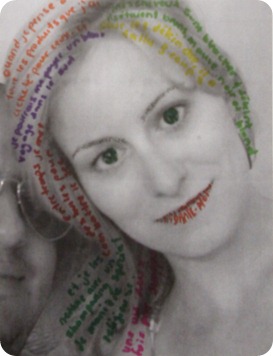
4. Written on me. Use markers with thin tips to write on yourself whatever comes to mind. This exercise can go two ways: either you color with the writing (like i have done), or you can just paint yourself and then put some writing wherever you feel like it.
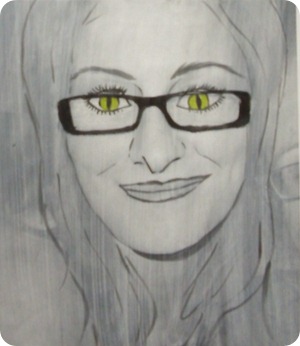
5. If I was a cat. Use some sand paper to lightly sand out an area of the portrait. Use a pencil to draw in new area as desired. Optionally, you can continue by adding a light wash of gesso over the portrait, and then paint over it as I did.
6. Make it textured. Use textures surfaces to draw yourself with colour pencils. Makes for interesting and neat effects.
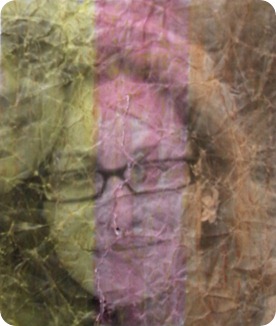
7. Crumpled. Crumple a photocopy of yourself. Then un-crumple it and use the new texture to create effects. you can do this by using oil pastels and lightly rubbing against the ridges of the crumples. Add washes of different colours to the portrait for more colour.
8. 1930’s movie star. Use glue or a binding acrylic medium (such as gloss acrylic medium) to glue on a white tissue (gift wrap) paper. When dry, use acrylic paint to put emphasis on the facial traits.
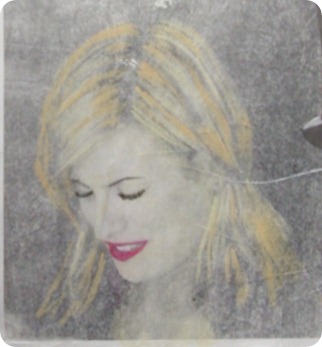
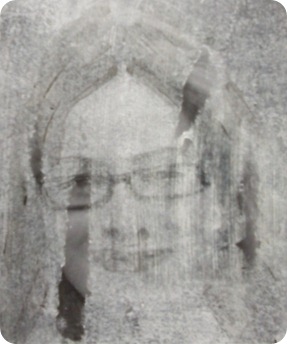
9. Ghost picture. Use glue or a binding acrylic medium (such as gloss acrylic medium) to glue on a white tissue (gift wrap) paper. Make sure to apply some medium on top of the tissue paper too. But don’t press too hard when applying, you don’t want it to become transparent. Before it dries out, use your finger to rub against the tissue paper as to create small tears here and there. Once dry, use a glazing medium with a bit of black paint to create a sheer colour. Apply to prominent facial traits.
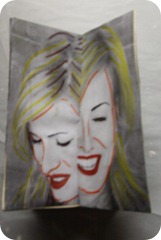
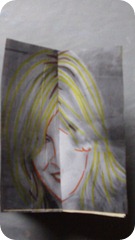
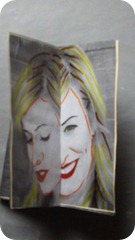
10. 3D portrait. You’ll need some cardboard for this one. Cut two square or rectangular pieces of the same size. On each side, glue on a photocopy of your portrait, that is a total of 4 portraits. Color, paint, draw or collage your portrait. When ready, cut a slit from the top (middle) to the middle (middle) of one of the cardboards. Do the same but from the bottom up of the second. you should be able to slip each one into the other to create a 3D portrait.
11. Transparencies. Go to your local printing shop and make transparencies of your portrait. Use markers or paint to fill in your portrait.
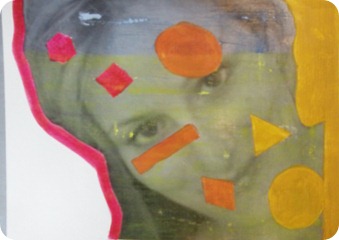
12. Geometrics. Cut out geometric forms from your portrait. Be creative, then paint in the shapes, add a wash or two of colour, or do whatever you want to.
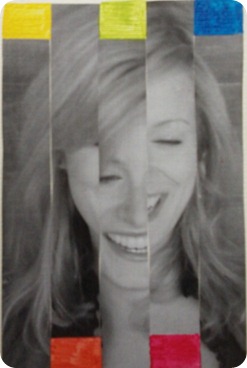
13. Distorted. Cut your portrait into strips and rearrange them to create a distorted portrait.
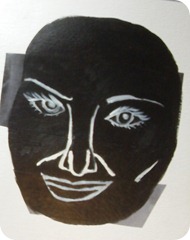
14. Negatives. Just like photo negatives, the colors of my portrait have been reversed. I only used black and white to convey a minimalist feeling, but you can use as many colours as you want.

Main tools that will be needed for all exercises are: paint (I choose acrylic), paint brushes, gloss acrylic medium, an “exacto” knife, scissors, tissue paper, textured surfaces, dry and oil pastels, cotton swabs, coloring pencils, felts, and anything else that can be painted with, coloured, or glued onto your self-portrait.
1. My alien self. Also one of my favourite exercises. I love the result. I actually did this one thinking of a Halloween theme. You can also try transforming yourself into a witch, a ghost, a zombie, or whatever!

2. The left-hand drawing (or right-hand drawing if you’re a lefty). First, you’ll need a mirror so that you can see yourself. You’ll need to draw with the opposite hand that you are used to using. Don’t put in too much detail, just keep it simple. Once finished, use dry pastel to outline your portrait. Finally use gesso or water to smudge the color you have applied.

3. Pointillism portrait. Use a small round brush, cotton swabs or anything that will create small round dots of paint. Fill in your self-portrait. Try using two colors per section to create depth.

4. Written on me. Use markers with thin tips to write on yourself whatever comes to mind. This exercise can go two ways: either you color with the writing (like i have done), or you can just paint yourself and then put some writing wherever you feel like it.

5. If I was a cat. Use some sand paper to lightly sand out an area of the portrait. Use a pencil to draw in new area as desired. Optionally, you can continue by adding a light wash of gesso over the portrait, and then paint over it as I did.

6. Make it textured. Use textures surfaces to draw yourself with colour pencils. Makes for interesting and neat effects.


7. Crumpled. Crumple a photocopy of yourself. Then un-crumple it and use the new texture to create effects. you can do this by using oil pastels and lightly rubbing against the ridges of the crumples. Add washes of different colours to the portrait for more colour.

8. 1930’s movie star. Use glue or a binding acrylic medium (such as gloss acrylic medium) to glue on a white tissue (gift wrap) paper. When dry, use acrylic paint to put emphasis on the facial traits.

9. Ghost picture. Use glue or a binding acrylic medium (such as gloss acrylic medium) to glue on a white tissue (gift wrap) paper. Make sure to apply some medium on top of the tissue paper too. But don’t press too hard when applying, you don’t want it to become transparent. Before it dries out, use your finger to rub against the tissue paper as to create small tears here and there. Once dry, use a glazing medium with a bit of black paint to create a sheer colour. Apply to prominent facial traits.

10. 3D portrait. You’ll need some cardboard for this one. Cut two square or rectangular pieces of the same size. On each side, glue on a photocopy of your portrait, that is a total of 4 portraits. Color, paint, draw or collage your portrait. When ready, cut a slit from the top (middle) to the middle (middle) of one of the cardboards. Do the same but from the bottom up of the second. you should be able to slip each one into the other to create a 3D portrait.
11. Transparencies. Go to your local printing shop and make transparencies of your portrait. Use markers or paint to fill in your portrait.
12. Geometrics. Cut out geometric forms from your portrait. Be creative, then paint in the shapes, add a wash or two of colour, or do whatever you want to.

13. Distorted. Cut your portrait into strips and rearrange them to create a distorted portrait.

14. Negatives. Just like photo negatives, the colors of my portrait have been reversed. I only used black and white to convey a minimalist feeling, but you can use as many colours as you want.

Self-portrait exercises
Tuesday, October 26, 2010
Scrapbooking Cards
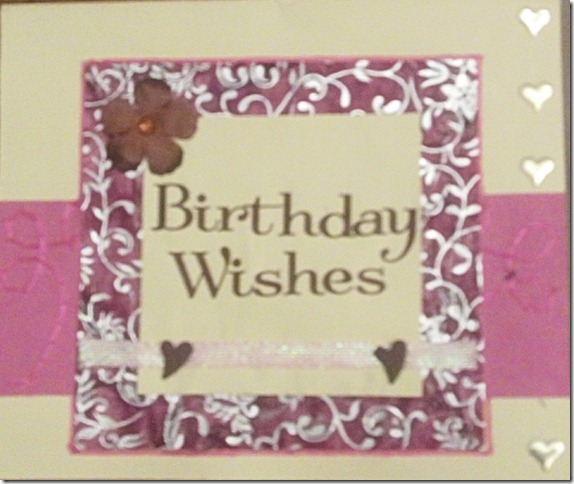
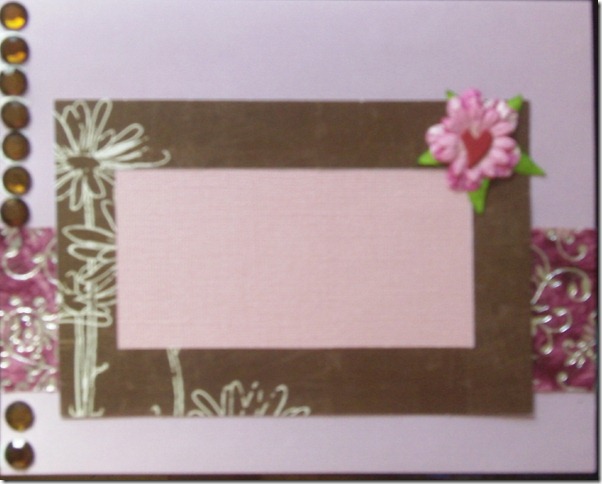
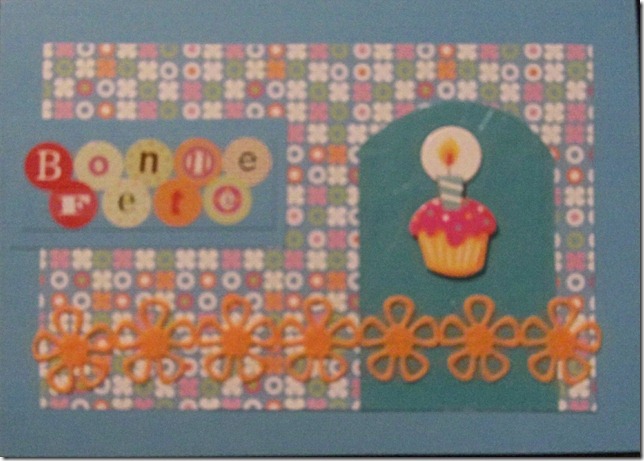
Here are 3 recent cards I have made out of scrapbooking materials.
I know that the quality of the pictures isn’t good, but the “good camera” broke and I'm stuck taking pictures with our video camera.
Scrapbooking Cards
Sunday, October 24, 2010
Thursday, October 21, 2010
Spicy Landscape
Les Journées de la Culture
25 sept. 2010
Atelier d'art culinaire: Plein son assiette!
(Culinary Art Workshop: A Platefull!)
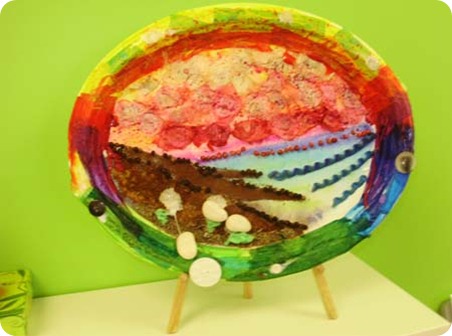
For this "masterpiece", I used a little acrylic paint for bright colors, spices such as cinnamon, cumin, thym (etc), pepper seeds, rose petals, noodles, and beans.
I've decided to call it "Spicy Lanscape".
Could be a great class activity for young students.
Could be a great class activity for young students.
Spicy Landscape
Monday, September 13, 2010
Thursday, August 12, 2010
Wednesday, August 11, 2010
Night Flowers
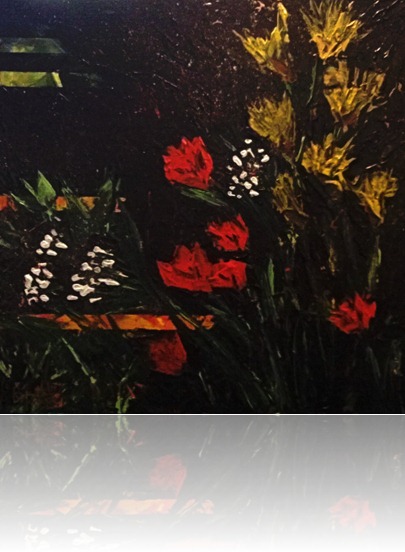
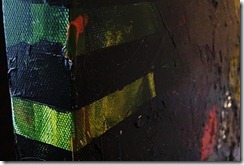
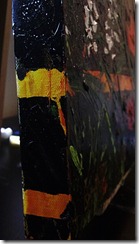
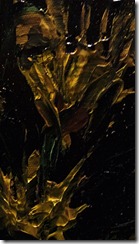
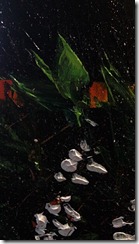
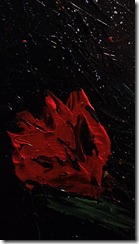
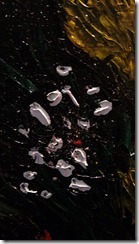
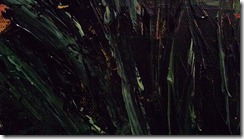
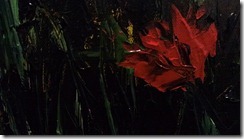
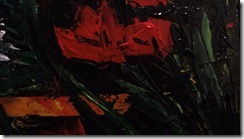
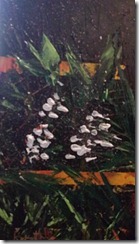
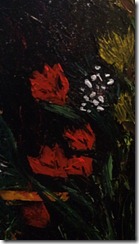
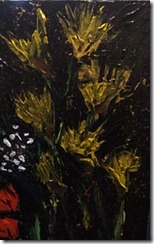
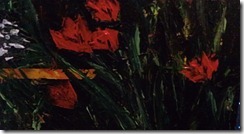
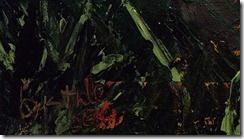
This painting was recently created by me at weekend art workshop. It started out as an abstract painting. The lines of color against the black background are the remains of the abstraction. Suddenly, after putting down some yellow ochre flowers started emerging and I went with the flow.
Here are some close-ups. Click on the images to have a bigger view.
Night Flowers
Subscribe to:
Posts (Atom)
